- Joined
- Nov 6, 2017
- Messages
- 10,064
When I created this layout, I took a straight stitching element from Gina Miller's kit and shaped it to a curve for the bottom title piece.

In this Affinity Designer tutorial I'm going to show you how to take a straight piece of stitching or string or thin ribbon etc from a kit and bend it around a shape or along a curve.
For this tutorial I am going to use a length of stitching from A Stitch in Time: Lengths by Lynn Grieveson.

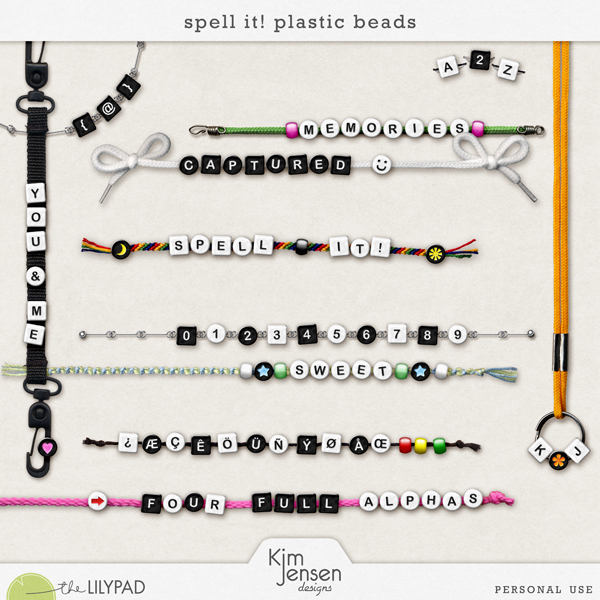
I am also going to use a piece of string from Spell It! Plastic Beads by Kim Jensen.
First we need to turn the length of stitching/string into an image brush. I like to have a special temporary category that is for these image brushes. I can delete the brushes later when I've finished with them, or leave my favourites for future use.
To create a new brushes category

To create an image brush

To wrap a row of stitching around a shape
I'm using the element lgrieveson_stitch_in_time-6.png from A Stitch in Time: Lengths by Lynn Grieveson.

Here I have placed the original element on the page for comparison.

To add a length of string to a curve.
I'm using the element KimJensen_SpellIt_braid-bluegreen.png from Spell It! Plastic Beads by Kim Jensen.

If there is a colour selected, then it will apply it to your curve.

For more on creating custom shapes see: Affinity Designer - Using Custom Shapes
For details on drawing curves see: Affinity Tutorial - text on a Path
In this Affinity Designer tutorial I'm going to show you how to take a straight piece of stitching or string or thin ribbon etc from a kit and bend it around a shape or along a curve.
For this tutorial I am going to use a length of stitching from A Stitch in Time: Lengths by Lynn Grieveson.
I am also going to use a piece of string from Spell It! Plastic Beads by Kim Jensen.
First we need to turn the length of stitching/string into an image brush. I like to have a special temporary category that is for these image brushes. I can delete the brushes later when I've finished with them, or leave my favourites for future use.
To create a new brushes category
- open the brushes tab
- click on the 3 horizontal lines in the right hand corner of the tab to open the drop down menu
- Select Create New Category
To create an image brush
- open the brushes tab - choose your category. Mine is called FromKits
- click on the 3 horizontal lines in the right hand corner of the tab to open the drop down menu
- Select New Textured Image Brush
- Use the diaglog to locate the stitching/string element
To wrap a row of stitching around a shape
I'm using the element lgrieveson_stitch_in_time-6.png from A Stitch in Time: Lengths by Lynn Grieveson.
- Draw your shape (I chose to draw an ellipse)
- Select your image brush
- Adjust the stroke width
Here I have placed the original element on the page for comparison.
To add a length of string to a curve.
I'm using the element KimJensen_SpellIt_braid-bluegreen.png from Spell It! Plastic Beads by Kim Jensen.
- Draw your curve (I chose to draw a simple curve)
- Select your image brush
- Adjust the stroke width
- Ensure that the line fill colour is empty.
If there is a colour selected, then it will apply it to your curve.
For more on creating custom shapes see: Affinity Designer - Using Custom Shapes
For details on drawing curves see: Affinity Tutorial - text on a Path