Hi, it’s guest Hybrid Polly Sharon (aka skyezak) here with a few tips for those of you that might be considering dabbling in the world hybrid scrapbooking. If you’re a pure digital scrapbooker, you might wonder why you’d want to get all messy and have clutter, glue, scissors and what-not across your desk (come on…it’s really part of the fun)! If you’ve come from a traditional paper scrapbooking background, then it might be a lot less daunting to get into hybrid, but you might also be wondering why do it as well? People who I’ve shown my digital layouts to that have no idea what digital is all about say they love my layouts but they need to do the lumpy, bumpy schtuff…half the fun is cutting and pasting your page together they say. They don’t really like the look of a flat page. Well it is fun getting down and dirty with your glue and scissors, but digital scrapbooking does offer the best of both worlds if you want to take a little look into it the hybrid side.
Before I found the amazing world of digital scrapbooking, I was a traditional paper scrapbooker. I do most of my pages digital these days but still love getting into my huge stash of physical goodies and also adding some digital goodies into the mix. Even if you have no physical papers stashed to the rafters in your craft room (….mmmm, wonder if that’s just me!), you only need your digital goodies and a few other things to get started. I used to teach traditional scrapbooking classes from home, so I’m going to be using my buttons, ribbons, rubons and the like for the rest of my life. I won’t ever get rid of my goodies even though they do take up a significant amount of space in my loungeroom! There’s always a future project that I might just need them for.
So, here are a few tips that might make you think a little more about trying some hybrid projects for yourself.
- Check through your craft cupboard stash as you’ll be surprised at what you’ll find that could be used in a hybrid project. Things like staples, buttons, ribbons, wool/thread, twine, sewing machine, sewing awl, sequins, beads, rubber stamps, glue, scissors, things for mark-making like an empty toilet roll, a toothbrush or small paintbrush to spatter ink or paint across the page. You get the picture. Hunt out those items and put them to good use with your digital images.
- Recolour your digital goodies to suit your project without ever having to buy another piece of paper or embellishment again. The beauty of digital scrapbooking allows you the flexibility of altering your goodies to your hearts content. You’ve got a girly kit but need to make something maybe for a Dad or a boy. Well just alter the colour of your paper/embellishment or part thereof, print off and away you go. Digital scrapbooking will save you money in the longrun. If you’re a paper scrapper like me, I used to never want to cut up my gorgeous papers thus leading to accumulating way more than I’ll ever use. They are so nice to just admire and touch!
- Reduce your pattern sizings. That’s right…another advantage of digital papers is that you can reduce the size of the pattern on a paper should you need to. If you’re making projects on a smaller scale like one would when going hybrid, you can reduce say a paisley, polka dot or striped pattern to a smaller scale so it’s not lost on your project. The same with your embellishments…you can reduce the size of them before you print them off to fit your project.
- Make sure you invest in some good photograph paper. Photocopy paper just sucks up the ink and leaves you with a washed out image. Photograph paper will give you a rich, vivid image without the ink soaking in. I always recommend using inks and paper that go with your brand of printer depending on the project. You don’t want your mini albums fading over time if they’re on display for all to see so stick with some of the quality papers that are light-fast. I’ve always had an Epson printer and just adore their Premium Presentation Paper Matte (or Matte Heavyweight Paper as it used to be called I think). I’ve always found glossy papers get too tacky and fingerprints show up easily on them. Plus the matte paper is much easier to score and manipulate if you’re going to be folding and making 3D projects.
- Have fun adding dimension to your project. Obviously you can add dimension to a digital scrapbooking layout by the use of shadowing and layering, but when you go the physical project route of hybrid, add lots of layers through the use of stitches (machine or hand sewn), rubber stamps, rubons, paints, inks and pop dots to give depth to a page. Fold, ink, scrunch and tear your papers or even your photograph. Some simple options to give your project that extra bit of ‘pop’!
So does that help a little with some of the things you might be considering regarding hybrid? People love to pick up and touch and feel your projects. Create flaps to lift with extra journalling on them, or pockets to store handwritten notes in. It’s all about getting interactive with your hybrid projects. Little gift boxes for your school teachers. Mini albums always go down a treat with the grandparents and parents! Greeting cards, shadow box frames along with a few keepsakes from the birth of a new babe. Use your imagination and jump on in!
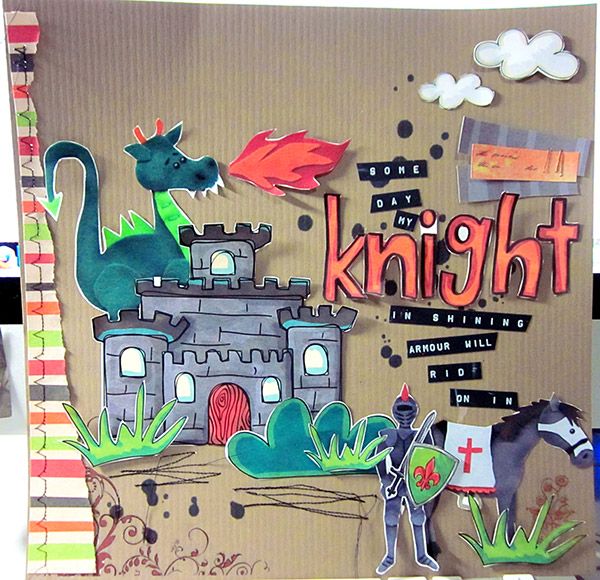
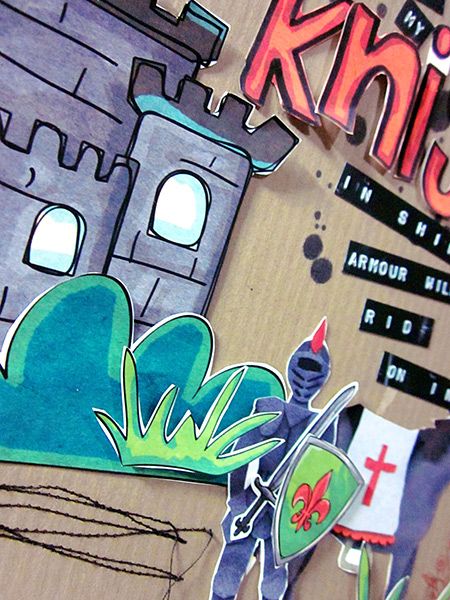
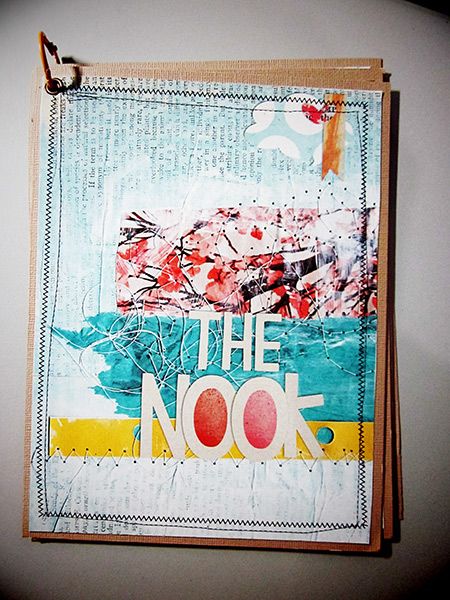
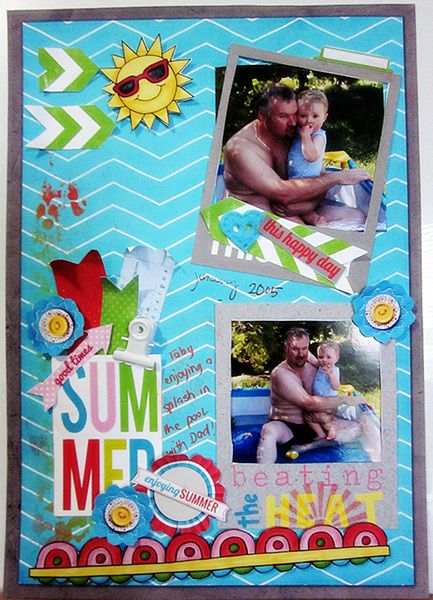
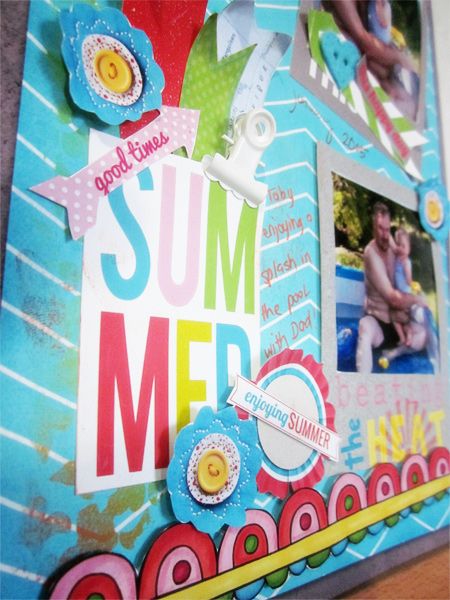
Here are some of my hybrid projects that I’ve created during August.
[…] 5 Hybrid Scrapbooking Tips […]